Nuts
About 1 cup of fresh almonds, cashews, hazelnuts or another suitable nut.

Soak fresh nuts, blend them with clean water, then strain the mixture through The Nut Sack. The pulp stays behind while the milk lands in the jug where it belongs. Simple ingredients, very little ceremony and an entirely reasonable amount of squeezing.
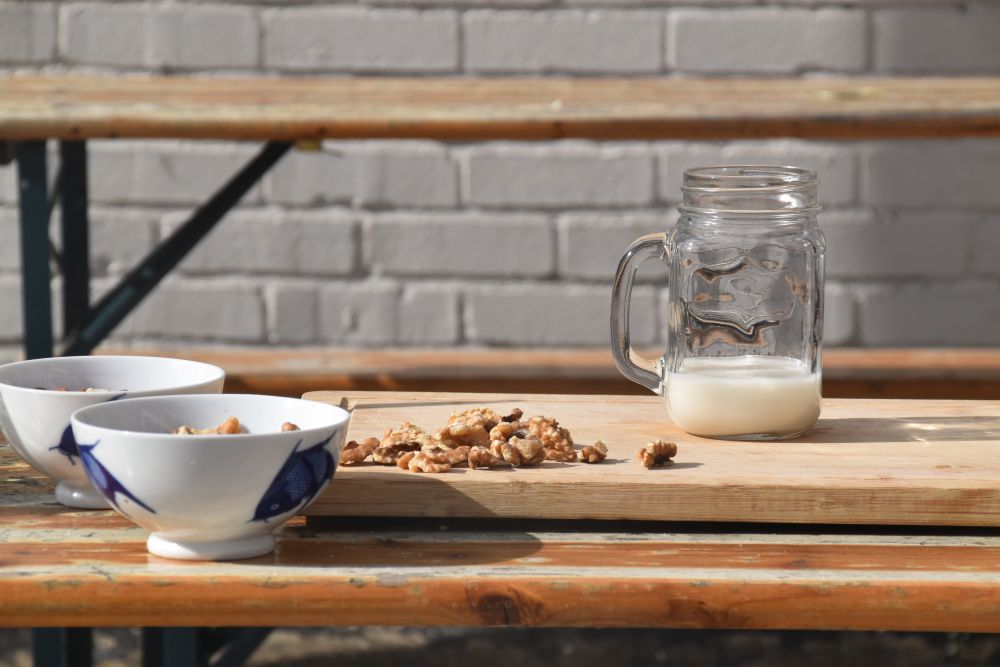
Start with roughly 1 cup of fresh nuts and 3–4 cups of fresh water. Use less water for richer milk and more for a lighter result. Vanilla, a date, a little maple syrup or a tiny pinch of salt are optional rather than compulsory kitchen theatre.
The basic recipe does not need much. The quality of the nuts matters rather more than the size of the ingredient list.
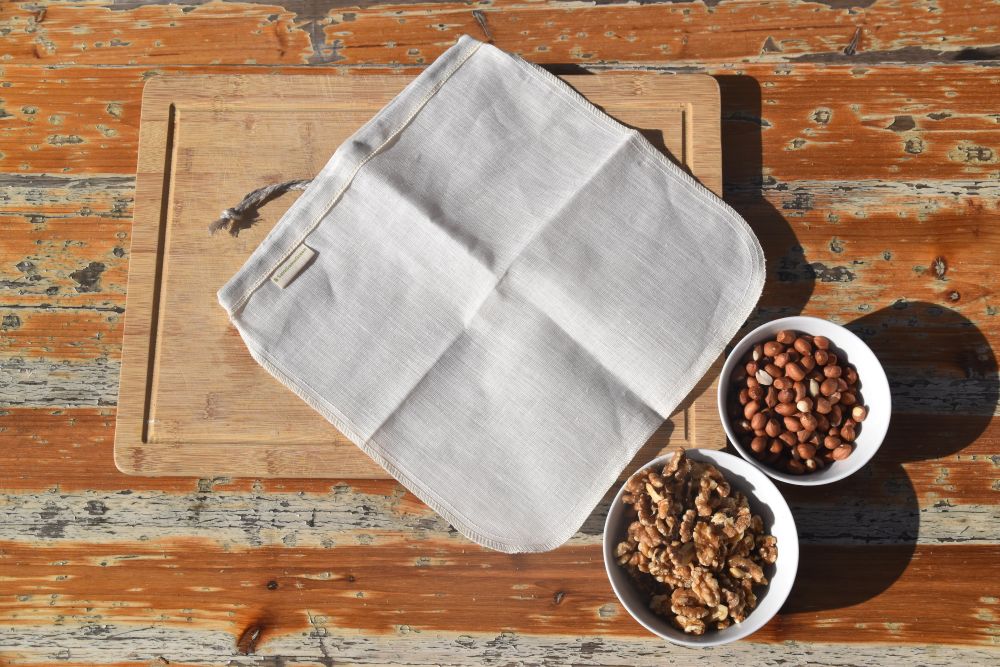
About 1 cup of fresh almonds, cashews, hazelnuts or another suitable nut.
About 3–4 cups of fresh water for blending, plus water for soaking and rinsing where needed.
Blend the nuts and water until the mixture is thoroughly combined and milky.
A clean reusable nut milk bag for separating the liquid from the pulp.
Vanilla, dates, maple syrup, cocoa, cinnamon or a tiny pinch of salt if you want to start meddling.
This page owns the recipe: prepare the nuts, blend them, strain the mixture and chill the finished milk. The separate How to Use guide covers the bag itself in more detail.
Start with nuts that actually taste good before they go anywhere near the blender. Stale nuts do not become charming merely because they have been liquefied.
Soak the nuts as appropriate for the variety you are using, then drain away the soaking water. Softer nuts generally need less soaking than firmer ones.
Give the soaked nuts a rinse before blending so you start with a clean-tasting base rather than a bowlful of old soaking water.
Add the nuts to a blender with roughly 3–4 cups of fresh water for each cup of nuts, then blend until the mixture looks thoroughly combined and creamy.
Place The Nut Sack over a bowl or jug, pour the blended mixture into it, then lift and squeeze gently. Your hands do the squeezing; the bag keeps the pulp under control.
Transfer the finished milk to a clean container and refrigerate it promptly. Natural separation is normal, so give it a shake before pouring.
The basic method stays similar, but flavour, richness and soaking time vary. Start with one nut you already like eating and work from there.
A familiar starting point with a light nutty flavour. It is a useful baseline when you are learning how rich or thin you like homemade nut milk.
Softer and naturally creamy. Cashews generally blend very smoothly and can make a richer-feeling milk.
A stronger, more distinctive flavour that works particularly well when you want the nuts to announce themselves rather than quietly behave.
Once the blended mixture is in the bag, let some liquid drain naturally before applying gentle hand pressure. A steady squeeze works better than frantic wringing.
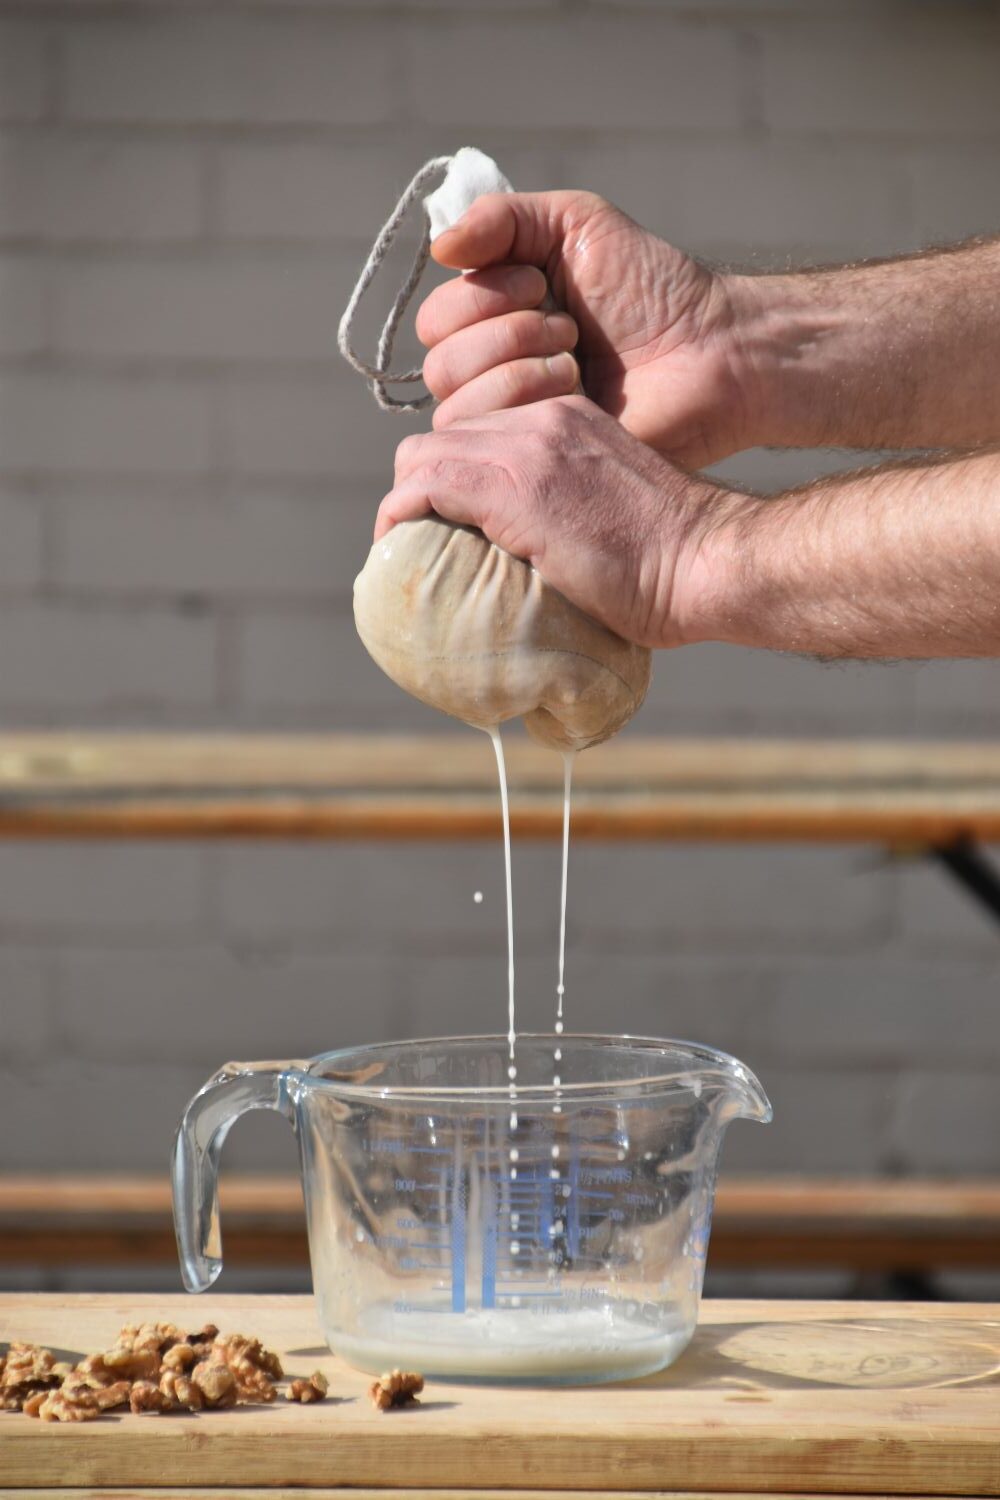
Use a bowl or jug large enough to catch the milk without forcing you into an unnecessary balancing act.
Pour the mixture steadily rather than dumping everything in at once.
Work from the top down and squeeze firmly enough to release liquid without trying to punish the fabric.
Empty the collected pulp once you are finished. Depending on the recipe, it may still be useful in food or suitable for composting.
Homemade nut milk can only taste as good as what goes into the blender. If the nuts already taste stale, bitter or tired, turning them into milk merely creates a larger quantity of disappointment.
The useful part of making nut milk at home is that the recipe is easy to adjust once you know the basic method.
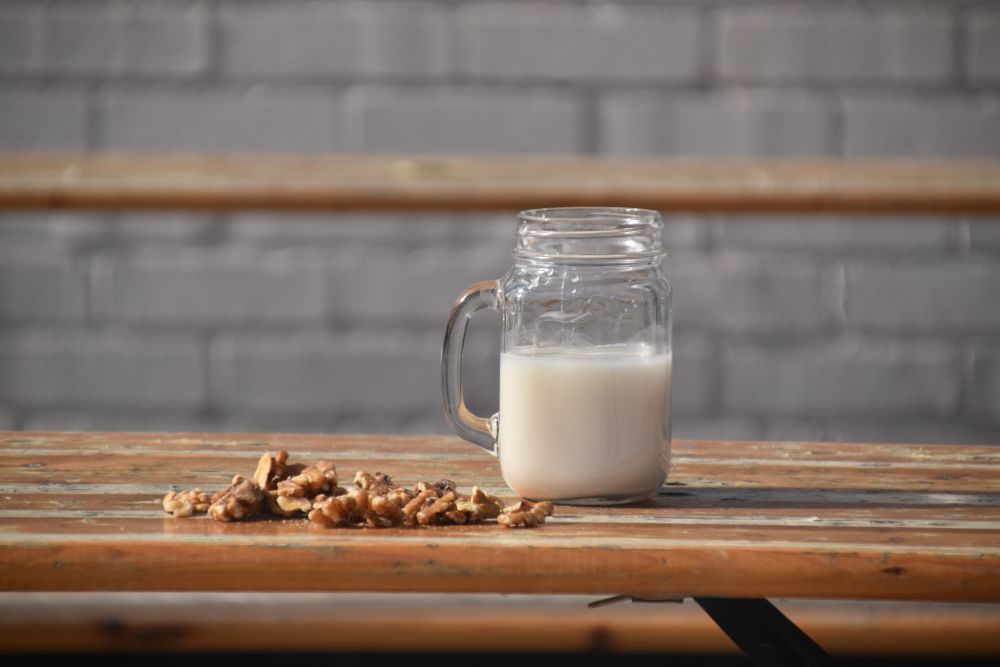
Use a little less water next time if the milk feels too thin for coffee, cereal or smoothies.
Add more water if you prefer a thinner, less intense drink.
Blend in a date or a modest amount of maple syrup if that suits what you are making.
Vanilla, cocoa, cinnamon or a tiny pinch of salt can change the finished milk without turning the recipe into a chemistry project.
This is the recipe page. The practical bag instructions and the broader list of straining jobs live elsewhere so we do not turn every page into the same sack-shaped essay.
Need the detailed pour, squeeze, clean and dry method rather than the recipe?
Fruit pulp, cold brew, tea, sprouting, soft cheese curds and the other fine-straining jobs belong on the Uses page.
About 1 cup of nuts to 3–4 cups of fresh water is a useful starting point. Use less water for richer milk or more water for a lighter result.
For many nuts, soaking helps soften them before blending. The useful soaking time depends on the nut, so treat it as part of preparing your chosen ingredient rather than one universal number.
You need a way to separate the blended solids from the liquid. A fine reusable nut milk bag makes that easy because you can contain the pulp and apply gentle pressure while the milk strains through.
Natural separation is normal because homemade milk does not necessarily contain the stabilisers used in some commercial drinks. Keep it refrigerated and shake before pouring.
The same bag can be used to strain oat milk, but oats behave differently from nuts and need their own preparation and blending approach. This page is deliberately focused on nut-based milk rather than pretending every plant milk is the same recipe.
The Nut Sack is sold through Save Some Green. The nuts, blender and questionable kitchen confidence are up to you.
The Nut Sack
We use necessary storage to keep The Nut Sack secure and working. If you allow analytics, Google Analytics helps us understand which pages are useful. We do not use advertising or behavioural tracking cookies.
The Nut Sack
Choose whether you want to allow optional analytics. Necessary website functions and security stay active either way.
Required for security, forms, consent preferences and essential website functions.
Google Analytics helps us understand how the website is used. It is not loaded unless you allow it.
Advertising and behavioural tracking: not used.